Bitrise Step
Automatically download localizable files from Translized translation management platform.
Configuration file .translized.yml should exist in a root directory of your project. More details about file and how to create it can be found here.
Translized step
Translized is a tool designed to assist in automating translations for mobile and web apps. It can be integrated into Bitrise, a continuous integration and delivery platform for mobile apps, to streamline the translation process. For detailed documentation of Translized CLI, please visit the documentation. Below are the steps to integrate Translized into your Bitrise workflow:
Step 1: Set up Your Bitrise Workflow
- Log in to Bitrise: Go to Bitrise and log in to your account.
- Select Your Project: From the dashboard, select the project you want to add Translized to.
- Select Workflow: Choose the workflow where you want to integrate Translized. Typically, this would be the "iOS" or "Android" workflow, but you can choose any custom workflow you have.
- Add a New Step: In the workflow editor, click on the "+" icon to add a new step.
Step 2: Add the Translized Step
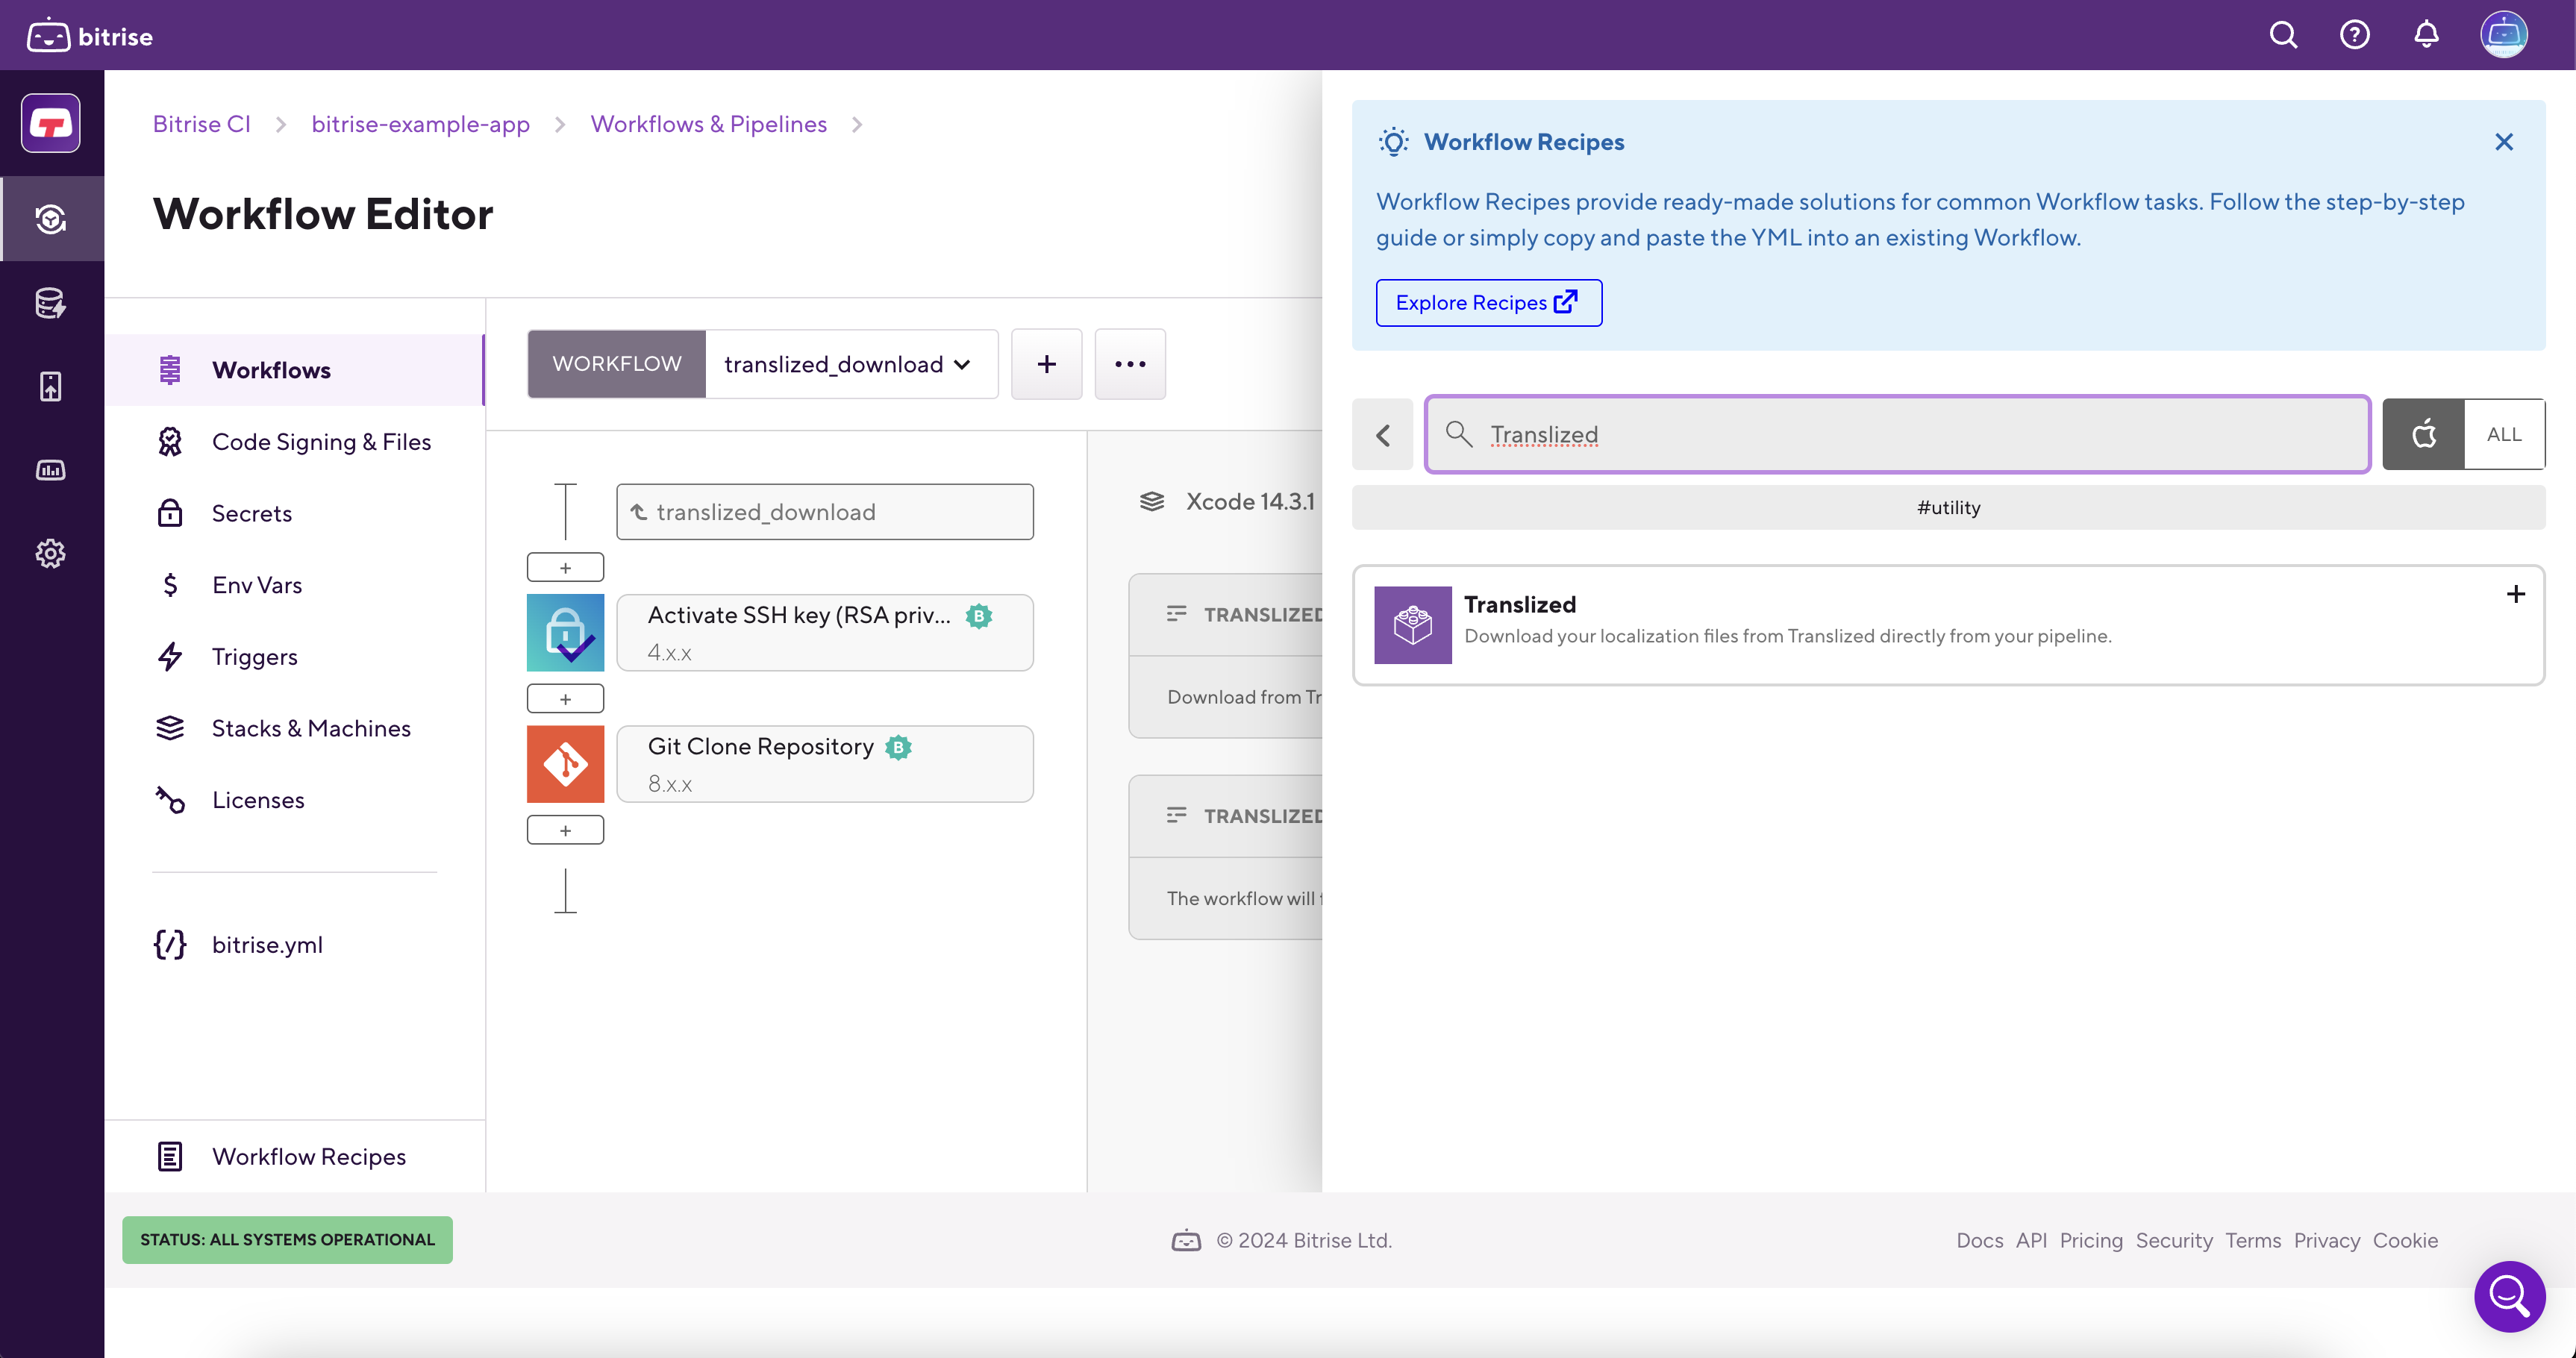
- Search for Translized Step: In the step library, search for "Translized".
- Add Step: Click on the "Translized" step to add it to your workflow.
Step 3: Run Your Workflow
- Commit and Push: Commit your changes to your repository and push them to trigger the workflow.
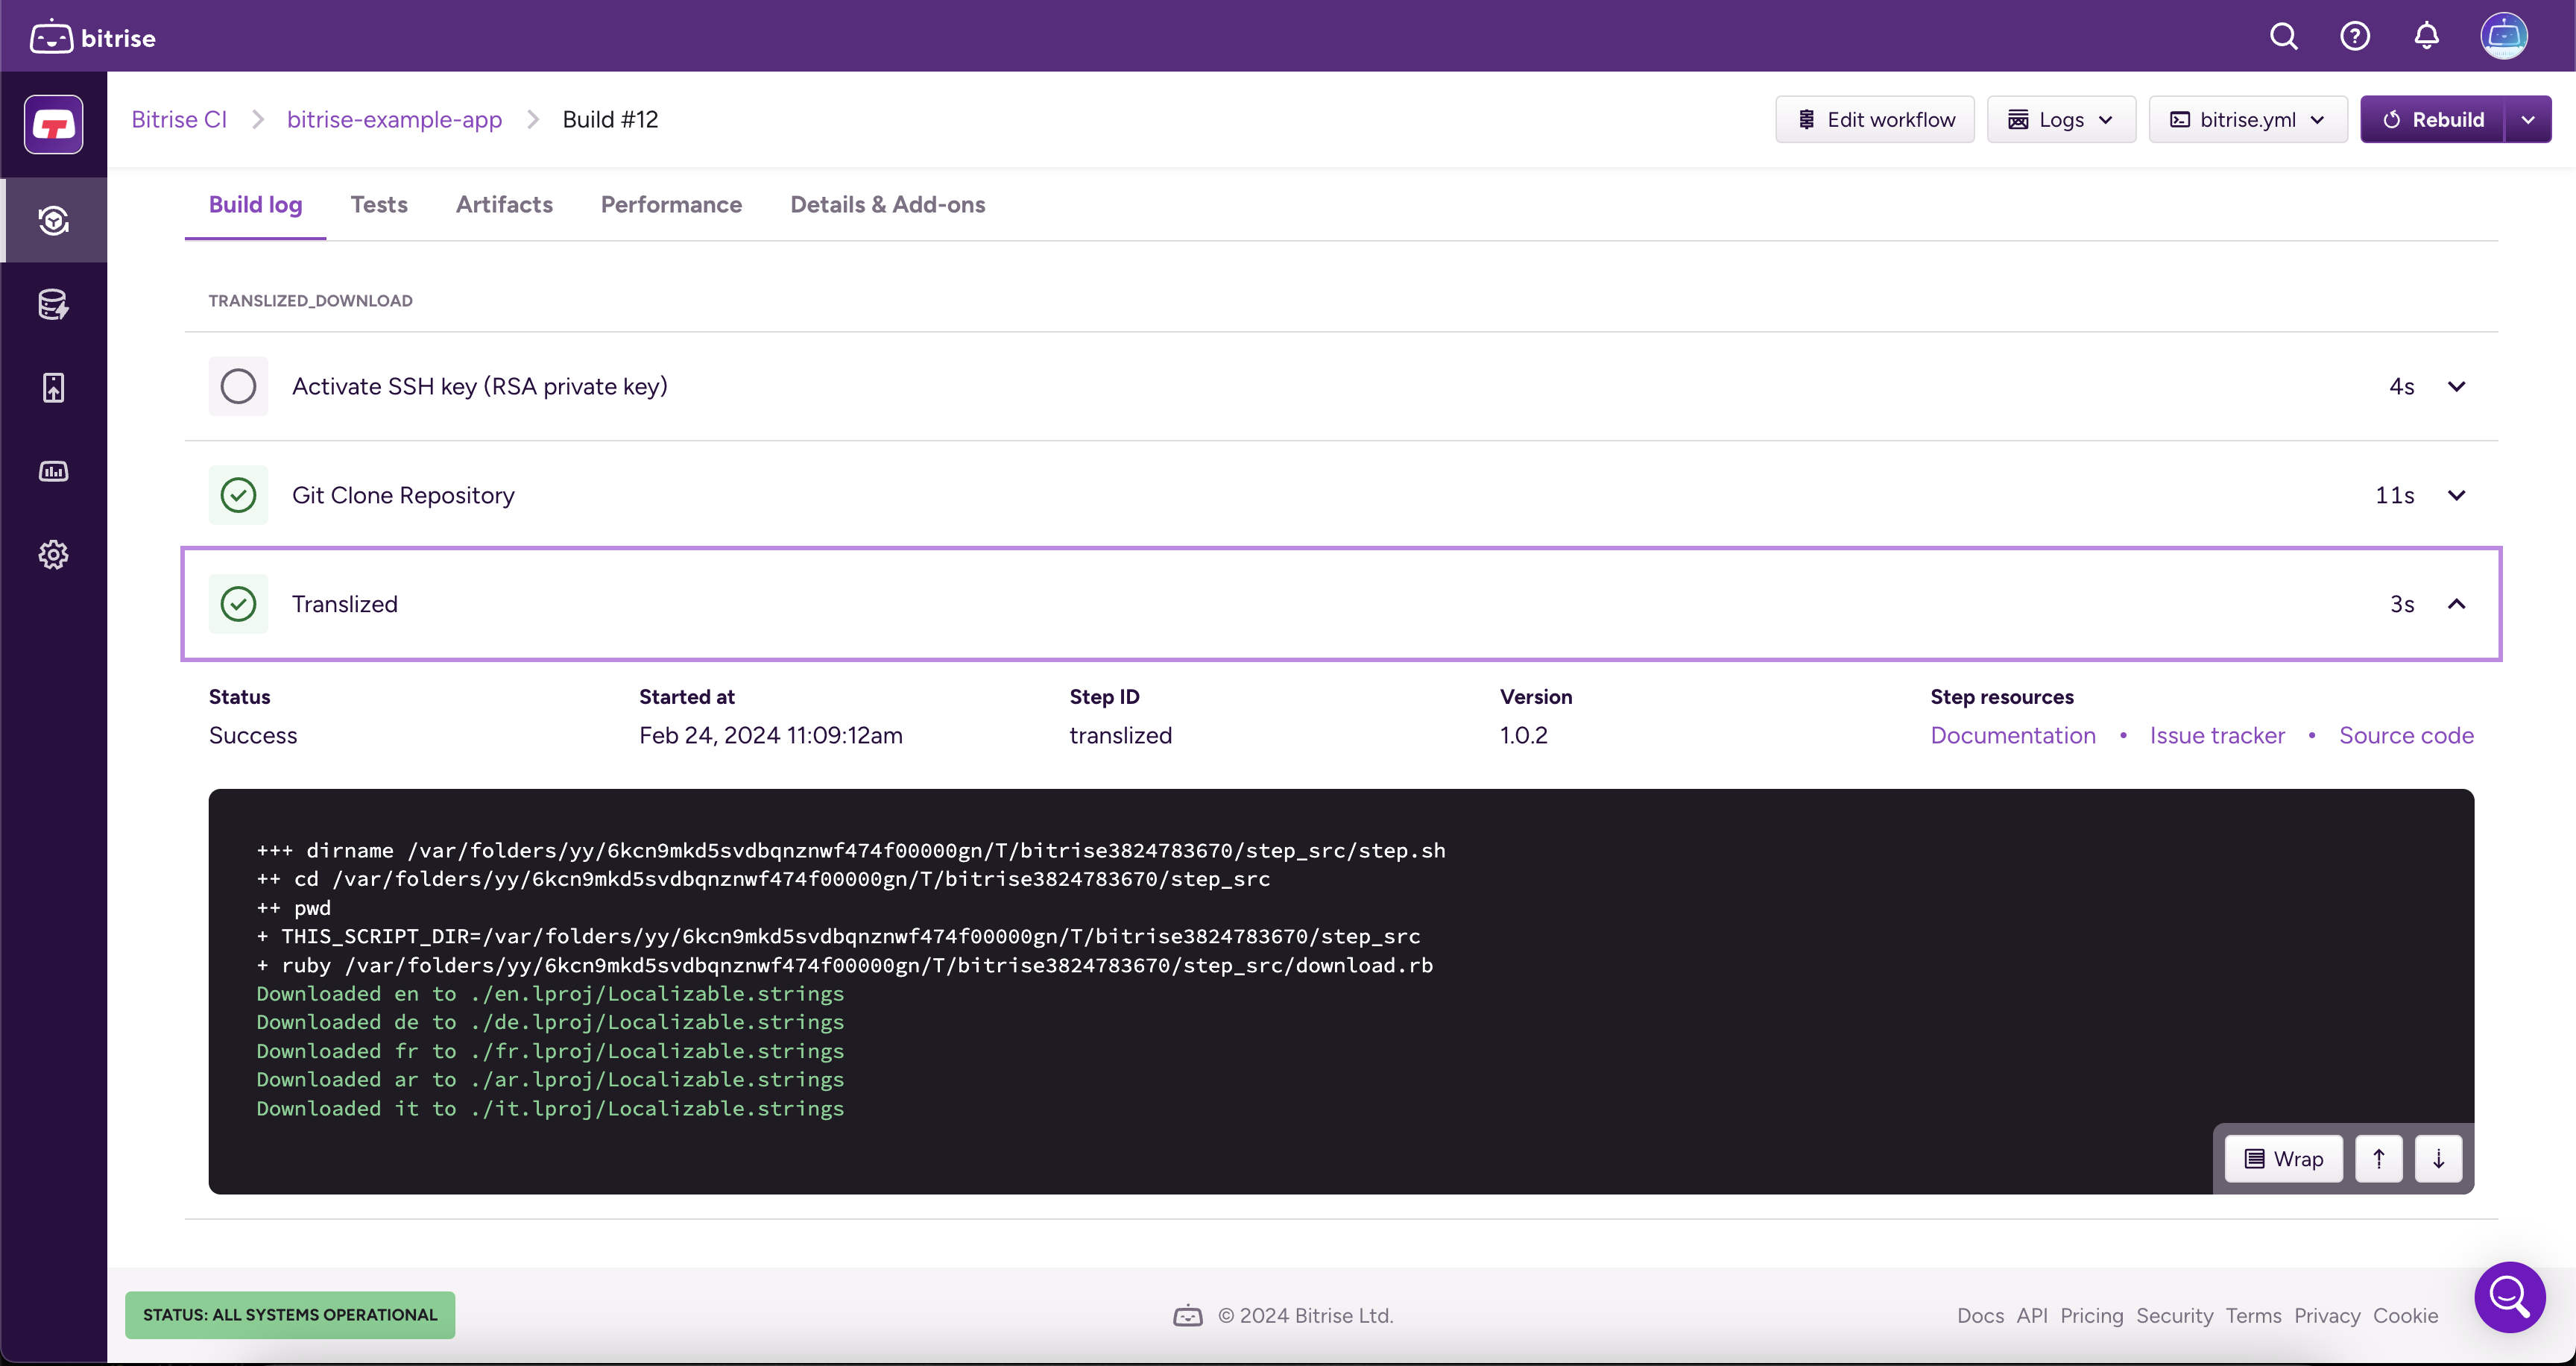
- Monitor Progress: Go to the "Builds" tab in Bitrise and monitor the progress of your workflow. The Translized step will automatically download and save your translated files to the specified directory.
That's it! You have successfully integrated Translized into your Bitrise workflow and automated the translation process for your mobile app.
Support
Contact us through email: info@translized.com