Getting Started with Translized
Consult this guide to get started with Translized with ease, and learn everything about our features.
Create an account
To get started with Translized, visit https://app.translized.com/signup and create an account via Google, Github or email.
The signup process takes no more than a few seconds, and does not require a credit card. 💳

Once you’ve created an account, we’ll send you a verification email to the email address you provided during signup.
Add your first project
After verifying your email, go ahead and log in with the credentials you provided during signup.
The screen you will land on is your dashboard where you can add new projects, or access the projects you’ve been invited to.
To add a new project, provide the following information:
- Name: add your project’s name.
- Primary language: select your project’s primary (source) language. *This can be changed later on in Settings.

Add Keys
Once you’ve created your project, it’s time to add keys that need to be translated.
Within Translized, this can be done in three different ways:
- Manually Add Keys
- Import Keys from a file
- Translized’s CLI
Manually Add Keys
Manually add keys by going to "Keys" tab inside your project, a clicking "Add Key" button.
Import Keys from a file
To import keys manually use the Import tab, and easily drag or drop the file to the designated field.

Additionally, you can import keys one by one on the Key page.
Learn more about importing keys on Import Localization Keys.
Import files using Translized’s CLI
Use our CLI and update localization with a single line from your terminal. Additionally, integrate CLI in your build process, and make sure you have the latest translations in every build.
Learn more about Translized’s CLI.
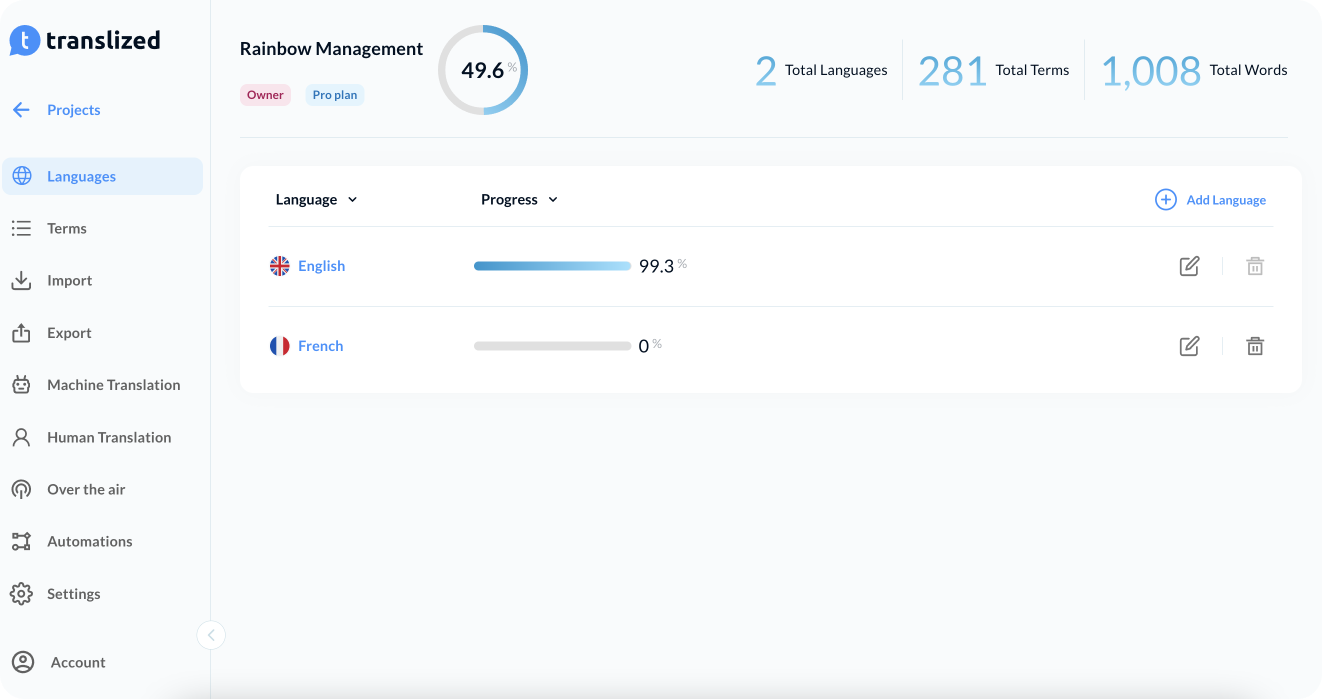
Add new languages
After you’ve successfully added your keys, it’s time to add languages.

From our pre-populated list of languages, choose the one you want to translate your keys to.
Change the primary language
If you want to change the primary language of your project, you can do so on the Settings page.
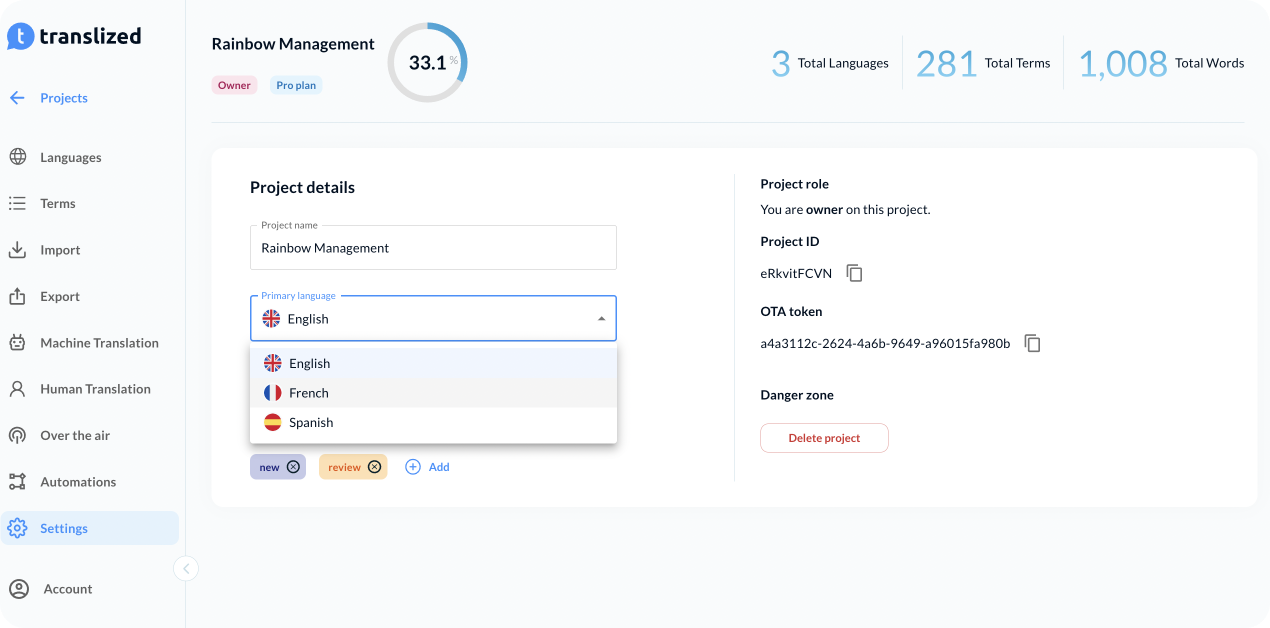
Once you add additional languages to your project, you can easily change the primary language by selecting the one you want from the dropdown menu.
Translate keys
Everything is set up - and you’re ready to start translating your keys. 🎉
Translized offers 3 different ways of translating your keys:
- Manual Translation
- Machine Translation
- Human Translation
Regardless of the method you choose to use, you’ll first need to add a language, in addition to the primary language
Manual Translation
Manual translation is mostly used if you’re translating the keys yourself, or are working with a translator.
There are 2 different ways to manually translate your keys: per language, and per key.
To translate per language, select the language you want, and you can easily start translating the keys one by one, with the help of additional tools provided by Translized.

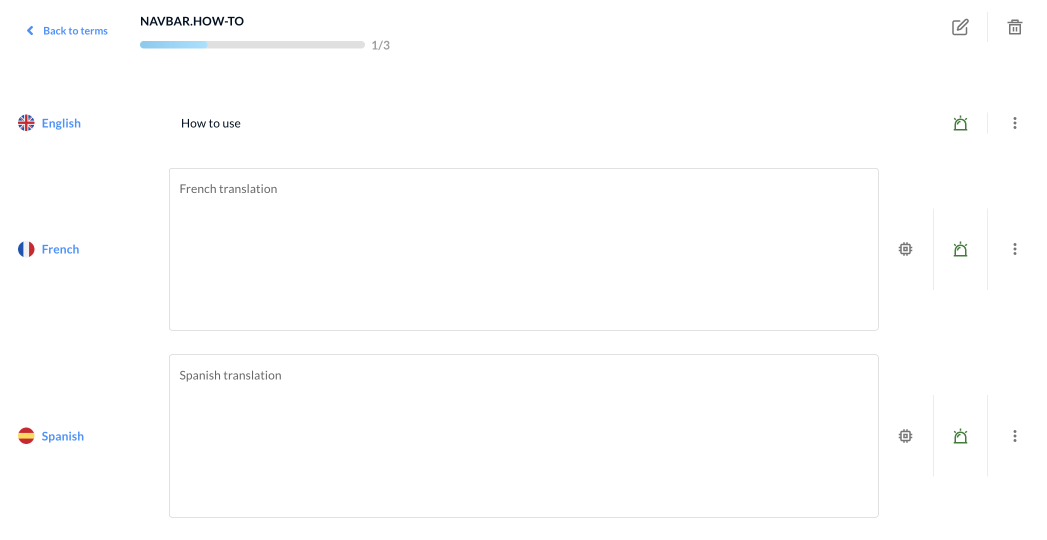
To translate per key, go to the Keys page, select the key you want to translate, and do so with the help of Quick Translate, or on the key tab.
This option allows you to add translations for multiple languages at once.
For a detailed step-by-step guide on translation, visit Translate Keys.
Machine Translation
With the help of machine translation, easily translate your keys into multiple languages. By default, you have 1000 machine translation characters, but can always purchase more through the app.
For a detailed step-by-step guide on translation, visit Translate Keys.
Human Translation
Translized offers in-app translation orders - meaning you can order translations from a native speaker, or a professional translator in more than 70 languages.
For a detailed step-by-step guide on translation, visit Translate Keys.
Invite team members
There are 3 different roles available within Translized:
- Owner
- Admin
- Contributor
Each role has a different set of permissions within your project.
To invite a new team member to collaborate with you on your project, visit the Contributors page: https://app.translized.com/home/contributors
Learn more about User Management.
Automate your localization workflow
Set rules for complete automation of localization processes inside your project.

- Auto-toggle Unverified: Once you update the primary language translations, Translized will automatically mark other language translations as ‘Unverified’.
- Pre-Translation: Automatically translate new keys into multiple languages directly after importing your files to Translized.
- Imported Keys: Define actions on new or updated keys from your imported files.
Learn more about Continuous Localization Automations
Export translations
Once you’re all done - it’s time to export your translations! 🚀
Visit the Export page, select the file format you want to export your translations in, choose the language you want to export, and you’re all done.

And lastly, you can choose some of the advanced options offered by Translized, to additionally configure your export file.
- Custom file name: <locale_code> will be replaced with the language code of the selected language and <file_type> will be replaced with the file type of the selected file.
- Empty translations: Choose how you want to export empty translation - as empty strings, pseudo localization or replace with primary language translation.
Upgrade your account
Once you sign up for Translized, you’ll start your 7-day free trial, which includes 8,000 keys and unlimited projects.
After your trial expires, you can either stay on the free plan, which offers 200 keys, or upgrade to a different plan.
To learn more, view our Pricing Plans.
Contact us for additional help
If you ever need help, we’re just an email away at info@translized.com 👋 Don’t be a stranger, we love hearing your feedback!